Do you have brow hairs that seem to have a mind of their own? No matter how much you brush them, or use brow gel, you just can’t seem to get them to look as amazing as all of those influencers on YouTube make theirs? Luckily there is a new trend out there called brow lamination that will leave your brows looking picture perfect.
There are a few treatments you can get done prior to having brow lamination, like having your brows waxed and tinted. You can even get them microbladed. Brow lamination is basically just a perm for your eyebrows, but instead of making them curly like a hair perm would, you are straightening them in a permanent fashion.
Brow lamination can be performed in 30 minutes, and will leave your eyebrows looking full and fluffy. Not only that, but it gives your brows a more natural appearance and lasts up to eight weeks.

It is important that prior to your brow lamination, you prep your eyebrows by having them pre-trimmed. This way, when the process is done, you will have even length, and they will appear more uniform and full.
How to Prepare for Brow Lamination
The first thing you will want to do when getting your brows laminated is to have the person doing it perform a patch test. This is just to make sure that you are not allergic to the chemicals that are being used to straighten your eyebrows.
Once that is done, they will cleanse your brows and place marks where they want to make sure your brows will hit properly. If you haven’t already trimmed your brows, they will likely do this for you, prior to laminating them.
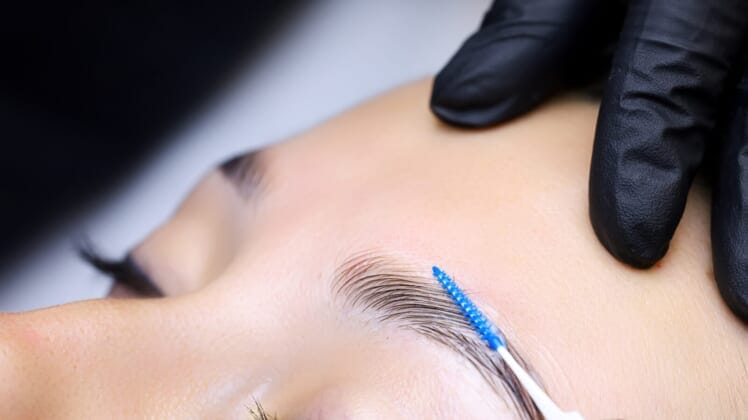
Once everything is set into place, they will apply a straightening lotion to your brows, cover them with clear wrap, and allow the chemicals to work their magic for a total of 30 minutes. What is happening during this time is that your hair follicles are opening up, straightening and shaping the brow.

Once the lotion is removed, the last step they will perform is applying the setting lotion to the brows and leaving it on for a total of eight minutes. The setting lotion can feel a little harsh, but don’t be alarmed.
Once you are done, they will apply a hydrating oil serum to your brows that will leave them soft and supple. After this, if you want your brows tinted, this is when you would do it.
Now, there are some at-home kits you can use to laminate your eyebrows, but we recommend that for your first time, you go to a professional. Watch them like a hawk and see exactly what they do and how they apply the chemicals. This will give you a better understanding of what you will need to do should you want to attempt to do them yourself at home next time.

An at-home kit will likely cost you around $65, and a trip to the salon to have it done usually costs around $90.
Depending on your hair type, the treatment can last anywhere from five to eight weeks. For people with thick hair, you should probably plan on getting it done every eight weeks. For those with thinner hair, you can even stretch your treatments as far out as ten weeks. Eventually, you will start to notice that your brows will naturally start to grow in the direction they are being set in.
Having your brows laminated can be extremely drying, so you will want to make sure to apply a nourishing oil to them regularly.
You might also like: What Exactly Are Soap Brows, And Why Is Everyone Talking About Them?